2 Minute Howto
This is a simple tutorial on how to build a pipeline with Cloudpipes. In this example we will build a pipeline that will pop a desktop notification whenever a Trello Card on a Board of your choice gets updated.
Here’s how to do it
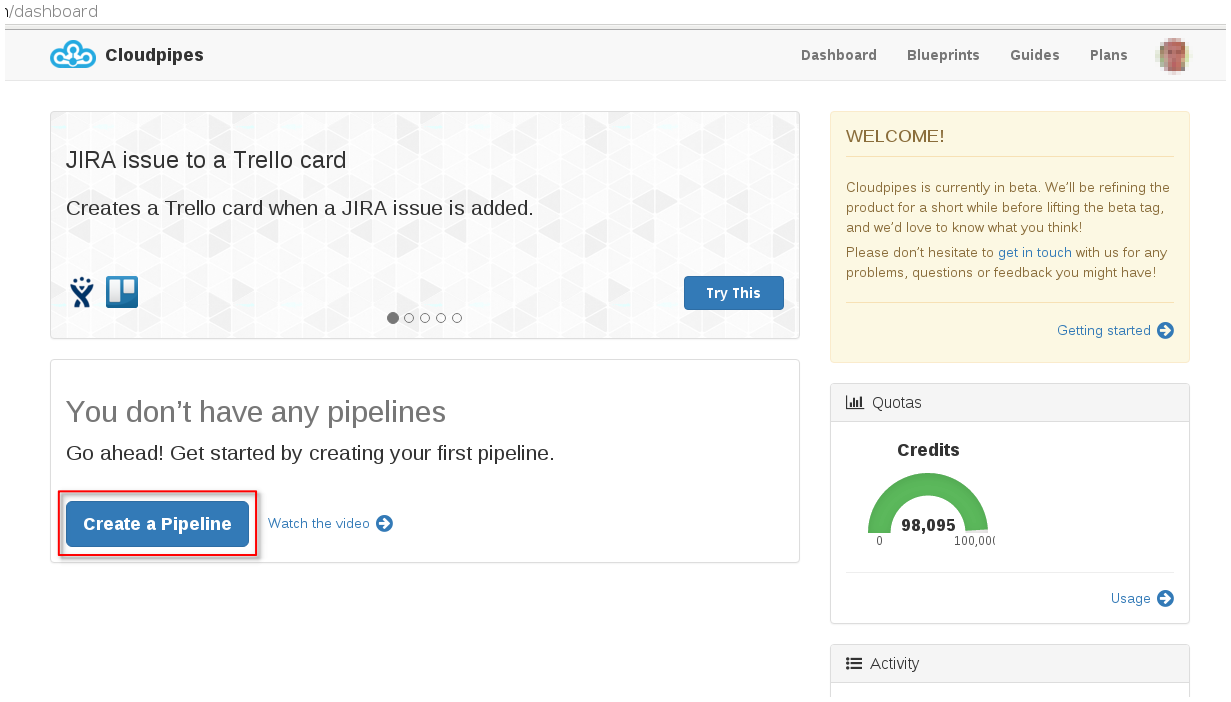
First - Make a new pipeline by clicking the big Create a Pipeline button on the dashboard.
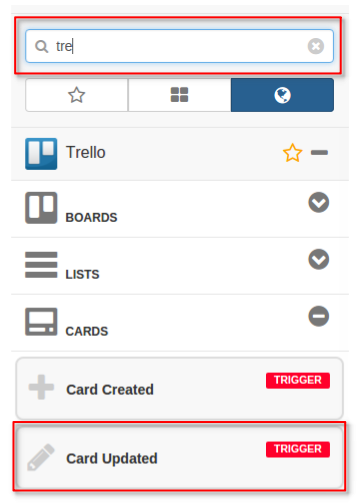
This will open the Cloudpipes Editor. To find Trello in the Channels drawer to the right, type “tre” in the filter text-box at the top, then expand Cards to see the pipes related to that.
Note: If you haven’t connected your Trello account you will see a Connect button that will allow you to connect your Trello account to Cloudpipes.
Then drag the Card Updated trigger pipe and drop it onto the first slot and currently only slot in your pipeline. A trigger pipe is the event that will initiate the execution of your pipeline. It is the starting point of the pipeline. In this example we want the pipeline to start when a Card in Trello was updated.
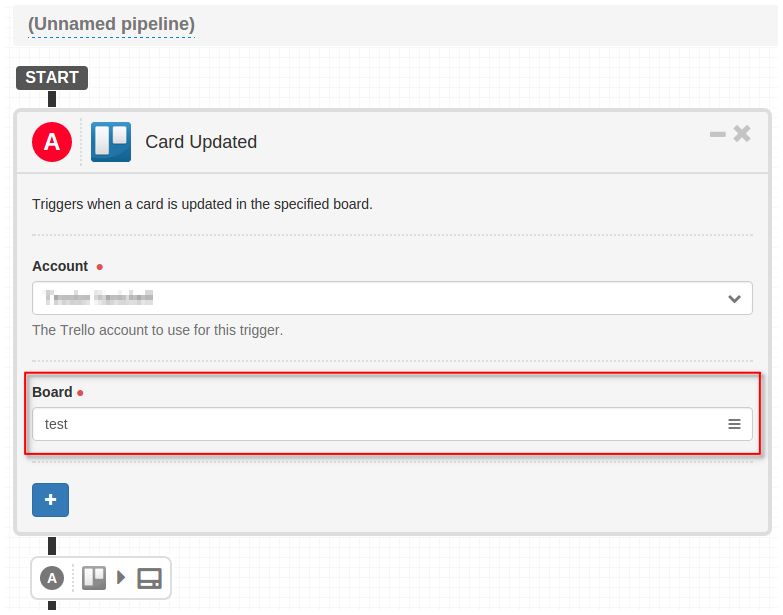
In the Card Updated pipe select the Trello Board you want to monitor for updated cards :
Next, select the Built-in Channels tab in the channels drawer, expand Desktop notifications and drag the Send a Notification pipe onto the next available slot in the pipeline. This is an Action pipe – a one that actually does something.

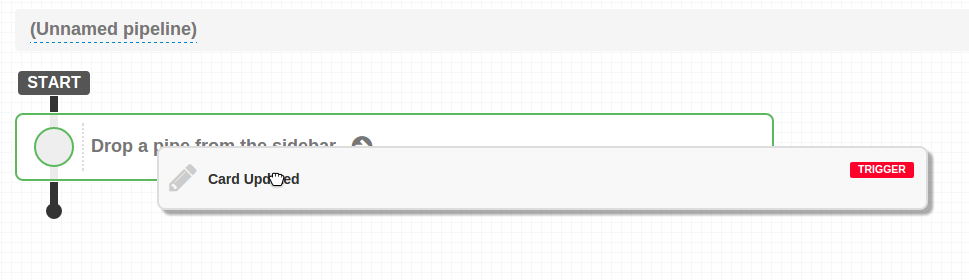
After you drop it after the Trello Card Updated, you should have something similar to this:
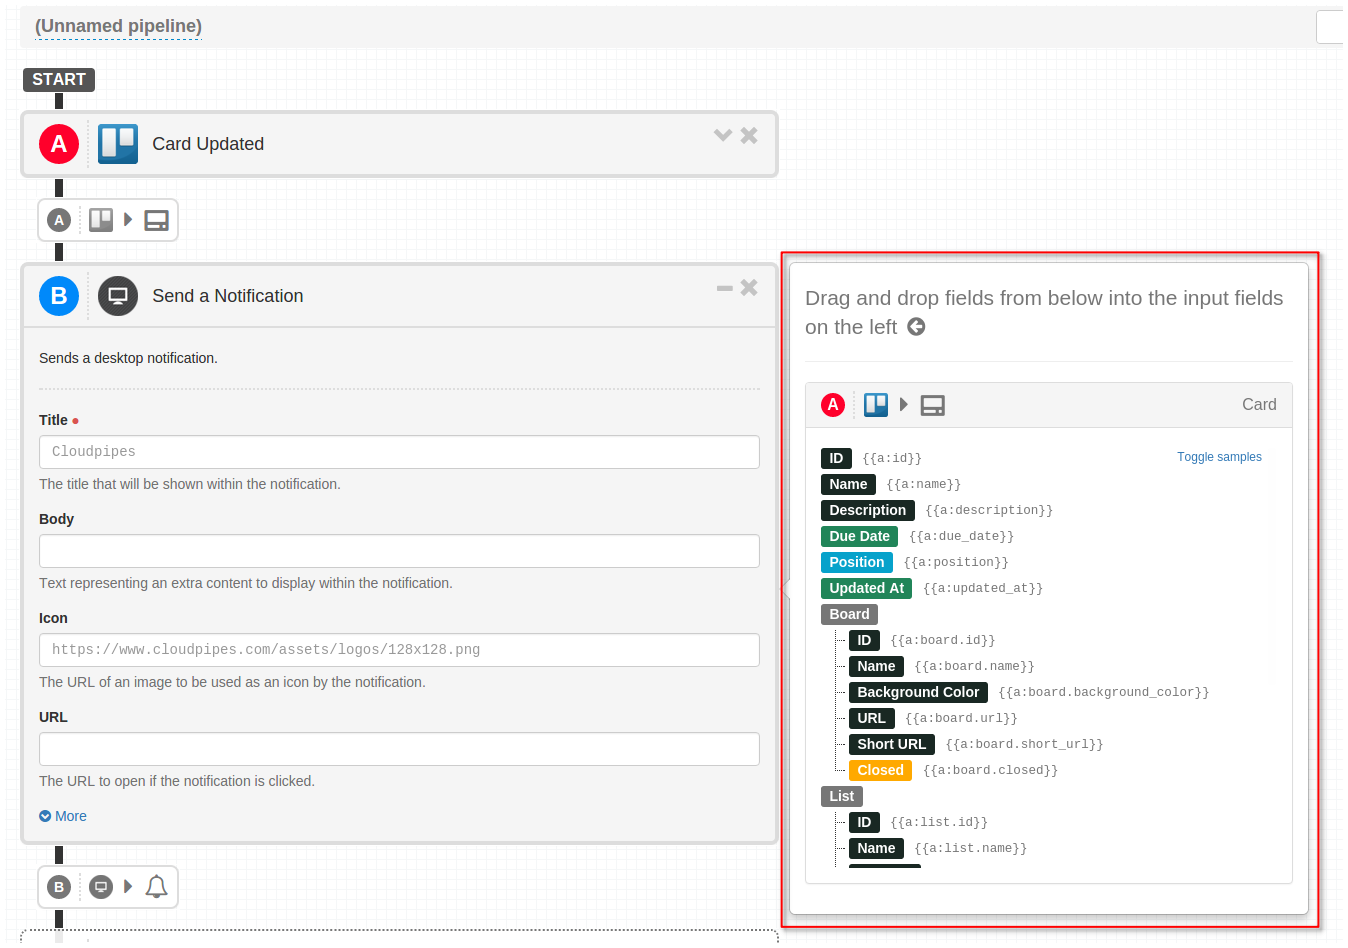
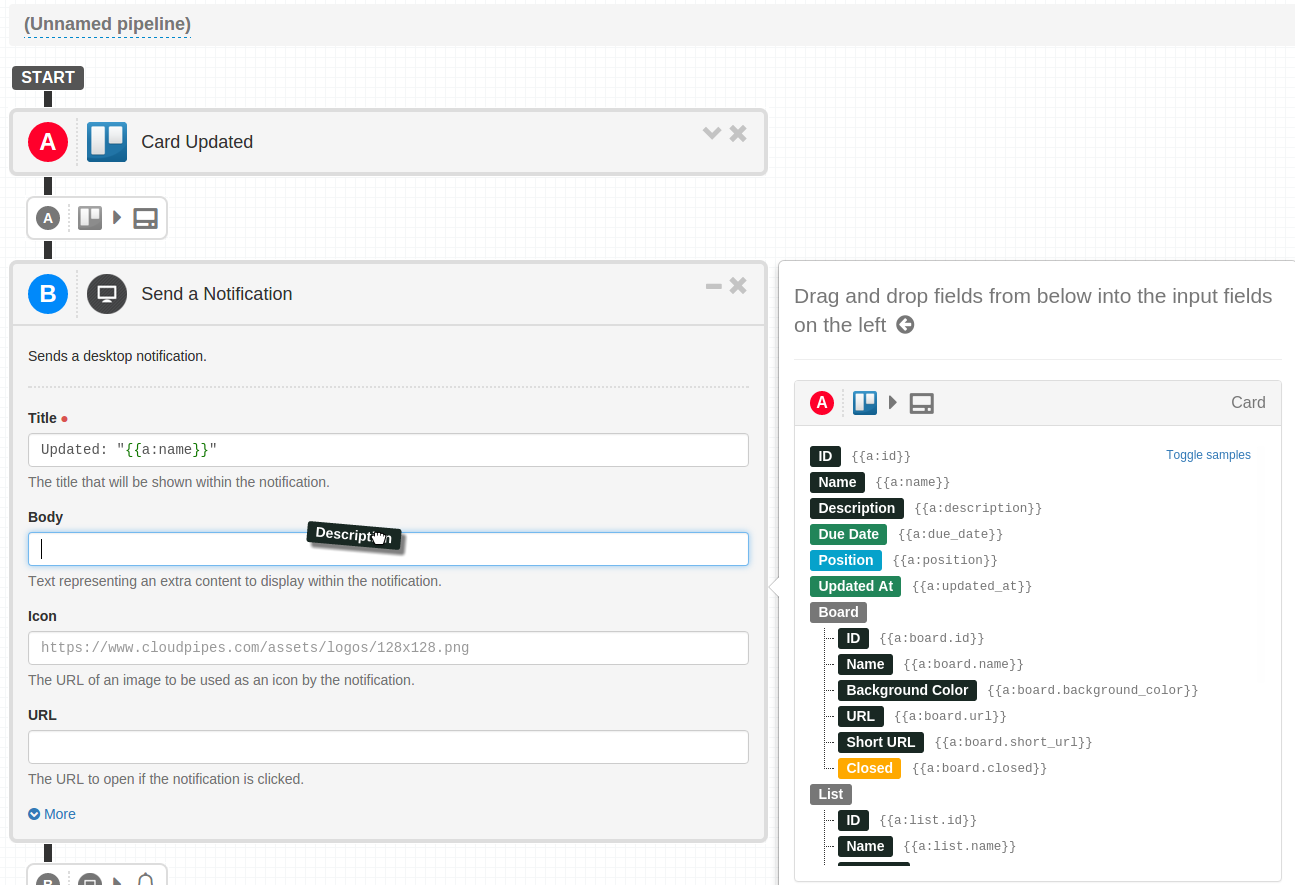
The area to the right of the Desktop Notification action is called the Fields List. It gives you access to data that is available in all the previous pipes you have added to the current pipeline you are editing. Drag and drop the Card’s name field into the Title parameter for the Desktop notification and Card’s Description into the Body textbox. This way your notification will have as title the name of the updated Trello card and it’s Body will be the Description of the Card.
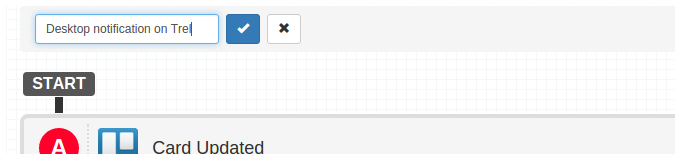
All that’s left to do is to give the pipeline a name by clicking on “Unnamed Pipeline” near the upper left corner of the Editor...
... and turn it ON with the switch control to the right.
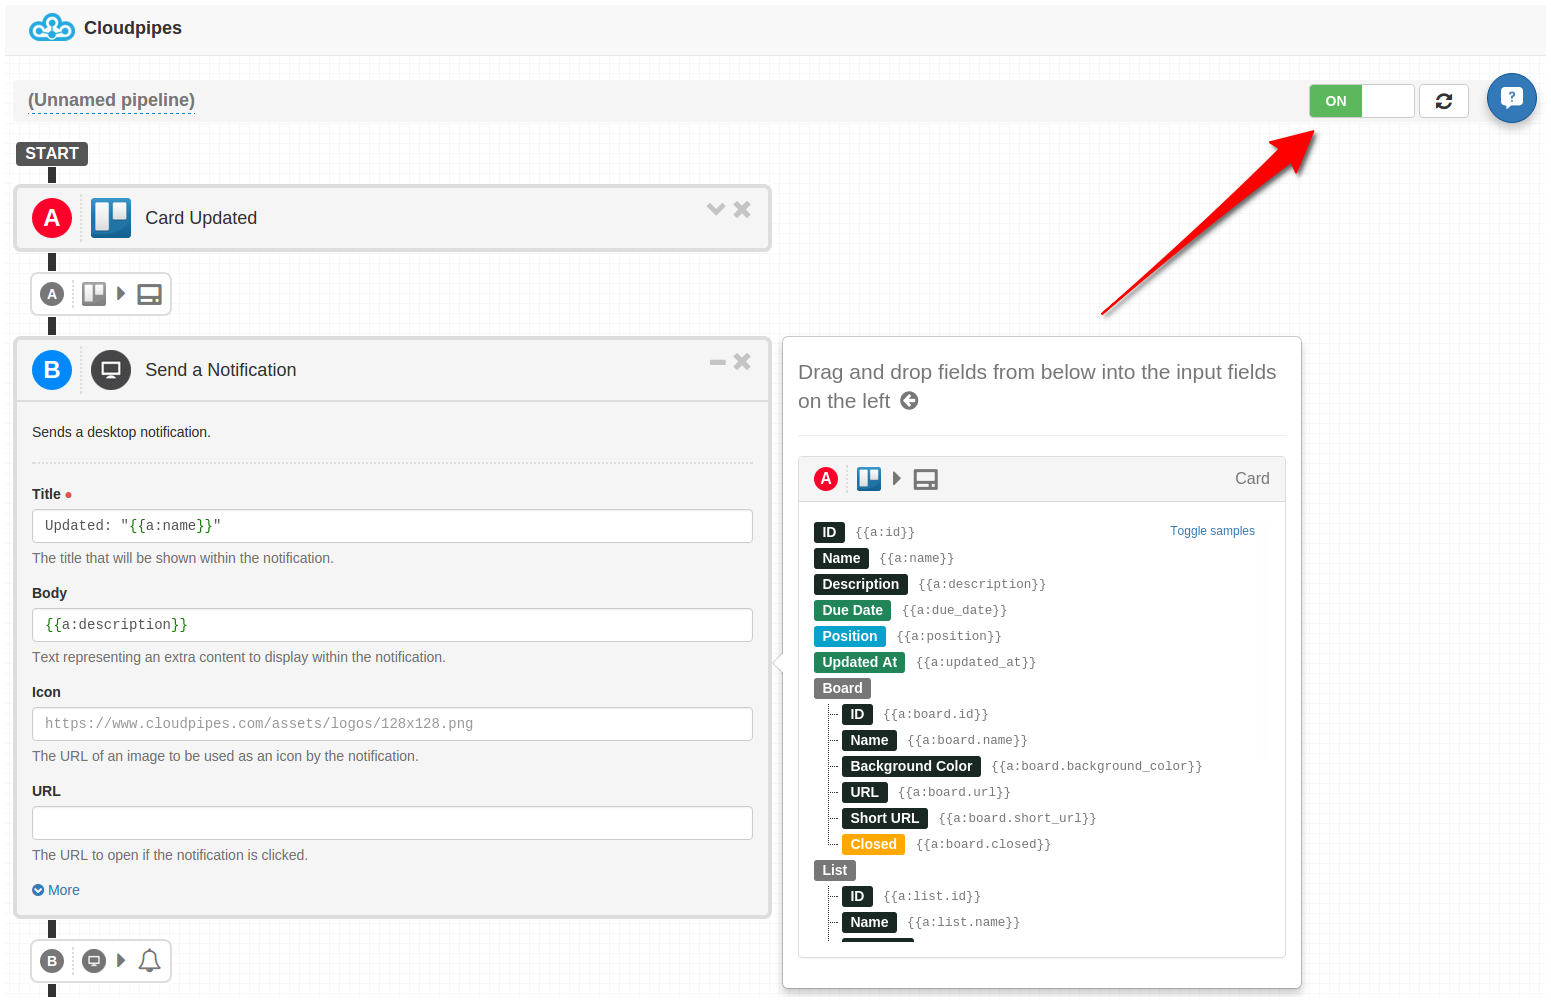
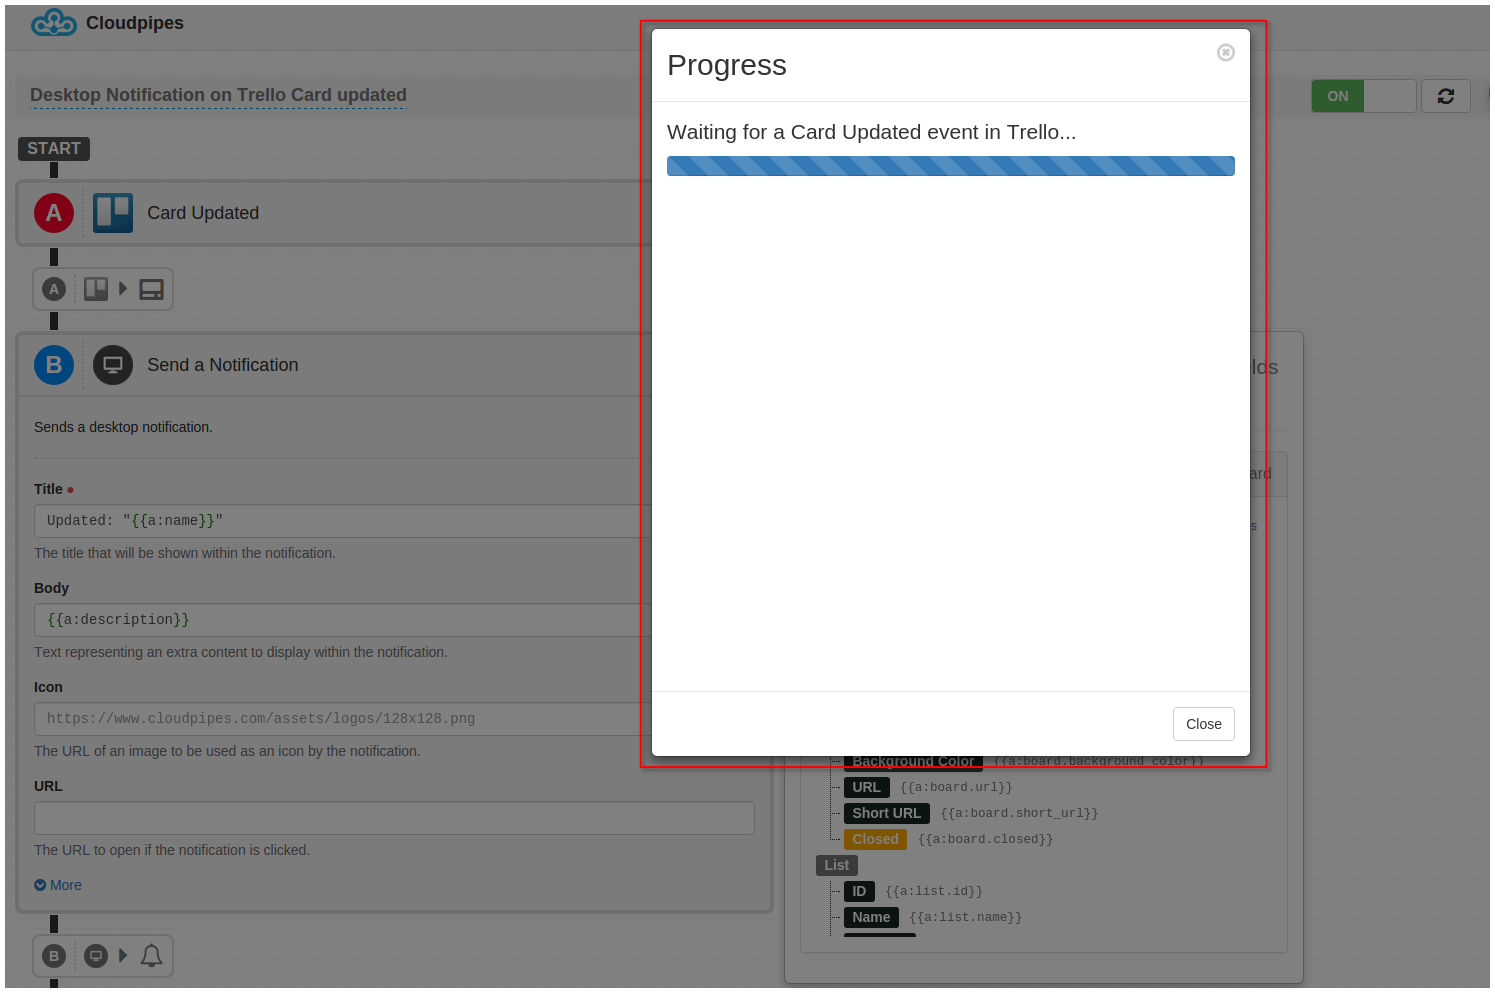
The window that will pop is called the Progress Dialog. It is used to debug pipelined execution. In this simple tutorial there is no need to delve into too much detail, just know that it exists.
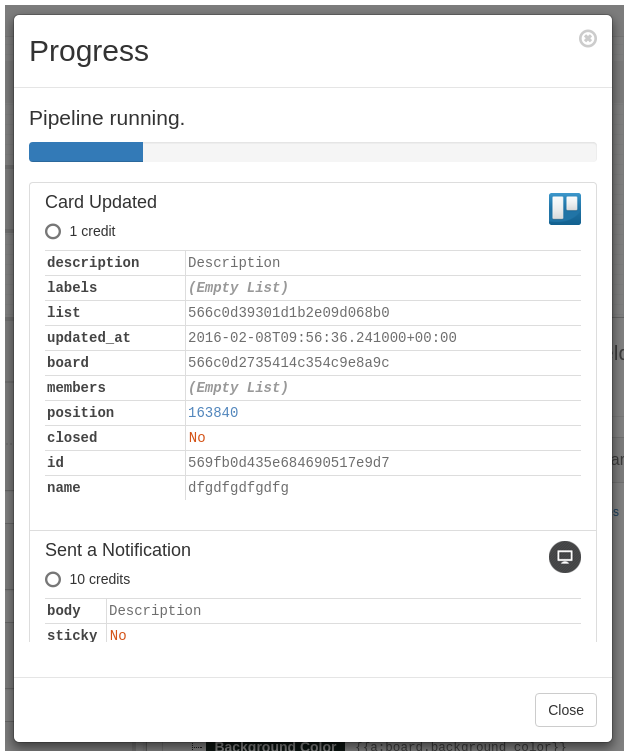
Now, it’s time to see that all that we’ve created so far works as expected. Go to the Trello Board you have configured in the pipeline previously and update a card. Go back to the Progress dialog in the Editor. Shortly after updating the Card you should see something like this :
Congratulations! You have now successfully completed your first pipeline with Cloudpipes!
You can now close the Progress Dialog and go back to the Dashboard. Your pipeline is now complete and will continue to run every time a Card gets updated in Trello.
Conclusion
This is all there is to it really. In this very brief tutorial we’ve covered all the basics you need to know to be able to effectively use Cloudpipes – Channels, Pipes – Triggers and Actions, Fields and also an overview of the interface.
Should you need any assistance, as usual just drop us a line at support@cloudpipes.com or reach us in the in-app chat.
Happy integrating with Cloudpipes!